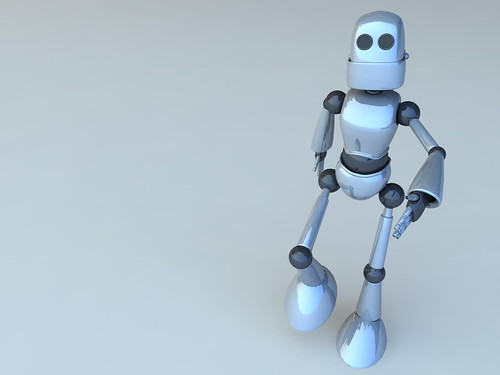
 This image was created using the new Repoussé feature in Photoshop CS5
I was lucky enough to be a participant in Adobe’s private beta for Photoshop CS5 since last fall. One of the great things about the process is that you get first-hand exposure to the guys who are actually writing the code and implementing the features that eventually make it into the shipping product, and it really gives you an appreciation for how hard everyone involved in the project works. Of course there are tons of new features in the new version of Photoshop — like Content-Aware Fill/Healing, which has quickly become the “holy-crap-that’s-awesome” jaw-dropping feature of this release — but one of the ones that I’ve had the most fun with since I first got a chance to play with it is Repoussé.
Repoussé gets its name from a metal-working technique, where sheets of metal are shaped into shallow relief with a hammer. Its implementation in Photoshop allows you to turn the content of a layer — including text or vector shapes — into 3D objects. Creating 3D text is something that many have long wished for in Photoshop, because prior to now, you’d have to first go through the unwieldy steps of using Illustrator or some third-party software to create your text and then import it into Photoshop. If changes to the angle or position of the text or logo were necessary, that would involve going back out to the original source files, making changes, re-importing the art and applying your Photoshop manipulations all over again.
Repoussé on the other hand is simple to use. Simply select the layer with your text or artwork, and activate the 3D Panel (if it’s not already open, choose it from the Window menu, or choose 3D from the Workspaces menu at the top of the screen). Select the 3D Repoussé Object option and then click Create. (You can also navigate to Repoussé via the 3D menu at the top of your screen).
In the resulting dialog box, you can manipulate the way the 3D object is created - you can bend, twist, scale, bevel and inflate the surfaces of your 3D object. You can also punch holes in shapes, performing what 3D artists call boolean operations on them. The example at the top of this post was created by merging two 3D layers (one each, for the words “the” and “highline”), adding a ground-plane shadow-catcher, and adjusting the lighting and ground planes to match those found in the original photograph.
 The Repoussé dialog box.
In combination with the other refined features of Photoshop CS5’S 3D engine, like image-based lighting, progressive rendering, camera depth-of-field and blur, and ground-plane shadow-catchers it is now possible to create more and more complex illustrations (and animations) within Photoshop, without having to use other software packages.
Here are a few more samples created with Repoussé:
 This text was created using the bend and twist controls in the Repoussé dialog box.
 Using the Pen tool, I traced an image of the Superman logo to create a vector shape. I then used Repoussé to texture and light the logo.
 Thursday, June 10, 2010 at 3:43PM |
  Email Article
  Woodruff Ave, 6:06amJust a quick note to point you to my newest photo blog Goodnight Brooklyn. Early last year, for a photography class at ICP, I started a project which eventually evolved into night photography of different parts of Brooklyn, and this blog is my effort to keep the project going. The images that are currently up are older, as they’re part of the initial project, but I’m going to start including newer shots moving forward.


