So I’m feeling pretty pleased with myself - I just cooked up quite possibly the simplest, most obvious Photoshop action for myself — and now I’ll share it with you.
How many times have you wanted to put guides at the precise horizontal and vertical centers of your Photoshop document? There are a couple of ways you could go about this. One of the slickest is to select New Guide from the View menu, and enter the pixel location of the guides numerically. That’s great if you’re a math whiz (which I’m not), or handy with a calculator (which I am).
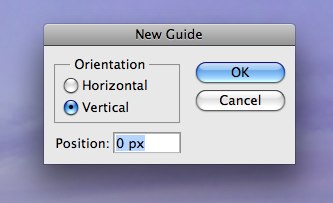
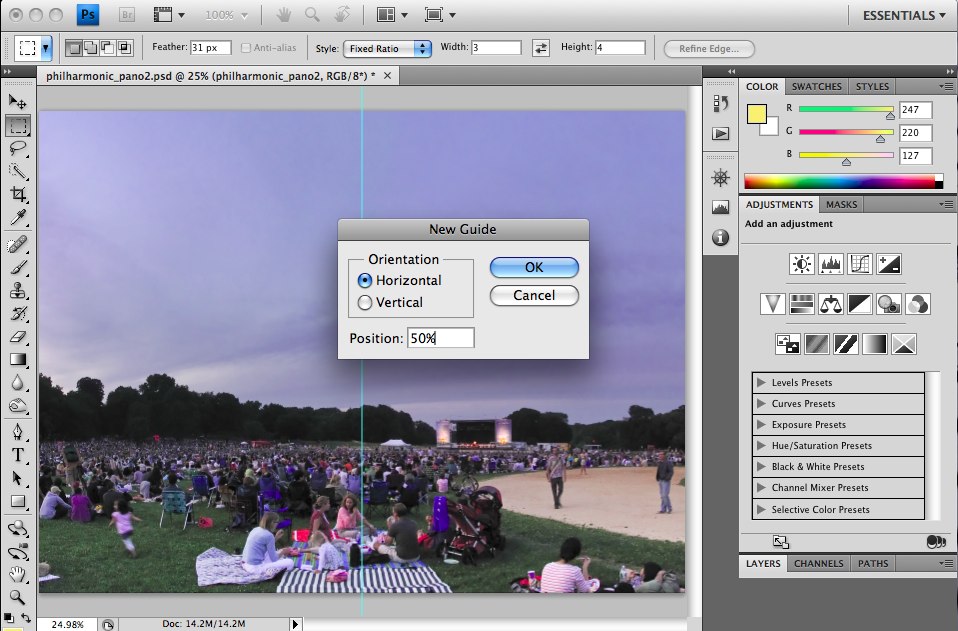
The next best way is to enter the values as a percentage - to place the guides in the center of your document, enter “50%” in the numerical text field and the guide will be dropped precisely at the halfway mark of your image. Do this twice - once for a horizontal guide, and again for a vertical guide, and you’re all set.
To make this even more streamlined, I had the lightbulb moment of making an action of that, which you could optionally assign a keyboard shortcut to for the ultimate in speedy guide-making.
[Update: Whoops - this action has a glitch - I need to figure that one out, and I’ll re-post it. Stay tuned…]
Because I love you, I’ve already saved out this action, which you can download here.
Bonus: Included in this set of actions are two other actions I use frequently when working with Flash. The first one duplicates the selected layer(s) or layer set(s) into a new document, and trims away all of the transparent background. This is my preferred way of importing bitmap elements from Photoshop into Flash.
The second action is a variation of this, the only difference being that it doesn’t trim the document. This leaves you with a new document that’s exactly the same pixel size as the original file.
In yesterday’s post, I was all giddy because I had had the brilliant idea to create a Photoshop action to automatically place a vertical and horizontal guide at the center of a document. My elation soon turned to bitter disappointment when I realized after the fact that my action was retaining the horizontal and vertical pixel locations for the center of my test document - and those same positions were used in documents of different sizes, rendering my action useless. ¡No bueno!
The solution was simple, if not immediately obvious: in the Units & Rulers section of Photoshop’s preferences (shortcut: Cmd+K or Ctrl+K, followed by Cmd/Ctrl + 7), I changed the Units to Percent instead of Pixels, and re-recorded the action - everything is golden now.
The updated action is available here.

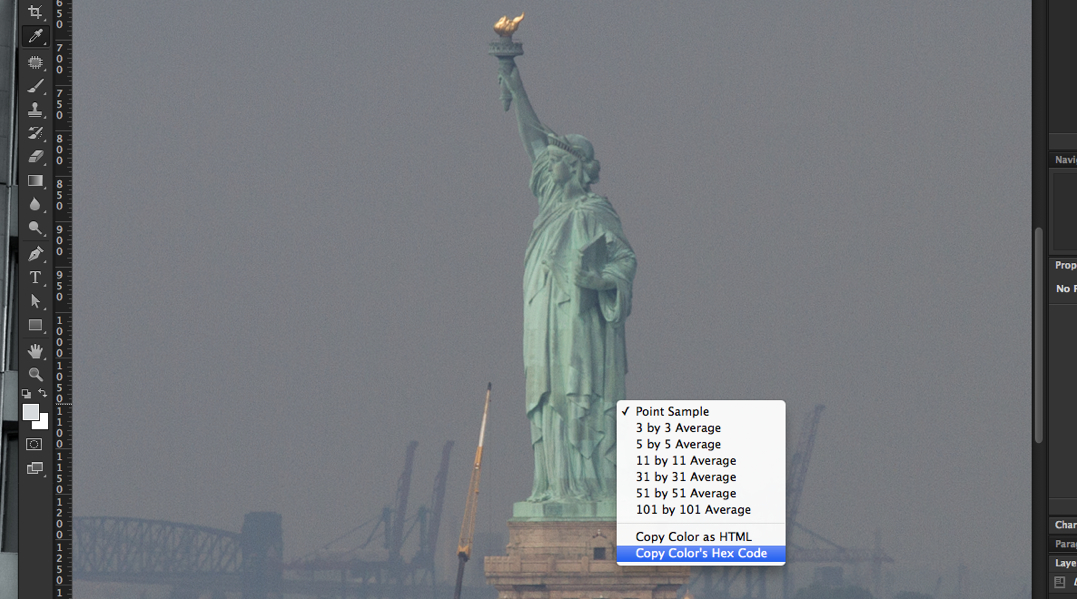 The Eyedropper tool’s contextual menuIf you’re a designer or developer, Photoshop is probably one of the cornerstone tools in your toolbox, but even if you use it every day, chances are there are a few tricks that may have slipped under your radar. For example, back in Photoshop CS4, the Eyedropper tool was given a new contextual menu item that allowed you to copy the selected color’s HTML value to your clipboard, in the format color=”#7d7e82”. In CS5, we gained the ability to copy just the color’s hex code to the clipboard, like so: 5a6e6f. So now, to quickly get colors from a mockup in Photoshop over to your code, simply choose the format that works best for you, hop over to your editing tool of choice and hit Cmd/Ctrl-V, et voila.
 Simon Abrams
;)
